Decorating Easter Eggs has never been easier, and it might not even cost you a dime! Open your pantry doors because these eggs only require a few common kitchen ingredients.
First things first, you'll need to hard boil your eggs. If you struggle to get a perfect egg that doesn't stick to the shell when you peel it, and who's yolk does't turn green try my family's tried-and-true tips to the perfect hard boiled egg.
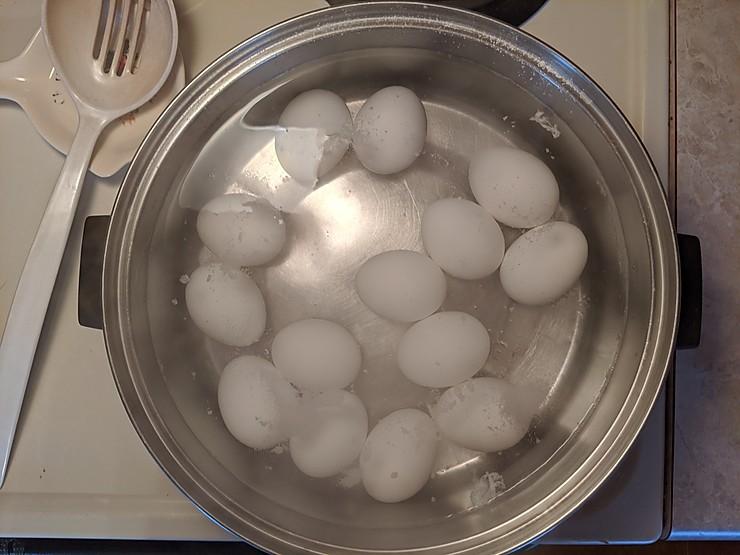
First fill a medium sized sauce pan about 2/3 the way full with water. Salt the water, about 5-10 good shakes, and place it on high heat until the water comes to a rolling boil. The salt should help prevent your eggs from cracking. Once your water is boiling, gently add your eggs one-by-one and turn the heat down far enough that only a slight simmer remains. Cook the eggs at a simmer for 15 minutes.
While the eggs are cooking, prepare a pitcher of ice. As soon as your timer goes off remove the eggs from the heat and drain most of the hot water out. Now, add the ice to the top of your eggs creating an ice bath. Set a timer for five minutes and let your eggs chill. By the end of the five minutes, most of your ice will be melted. Your perfectly cooked hard boiled eggs are ready to be decorated!


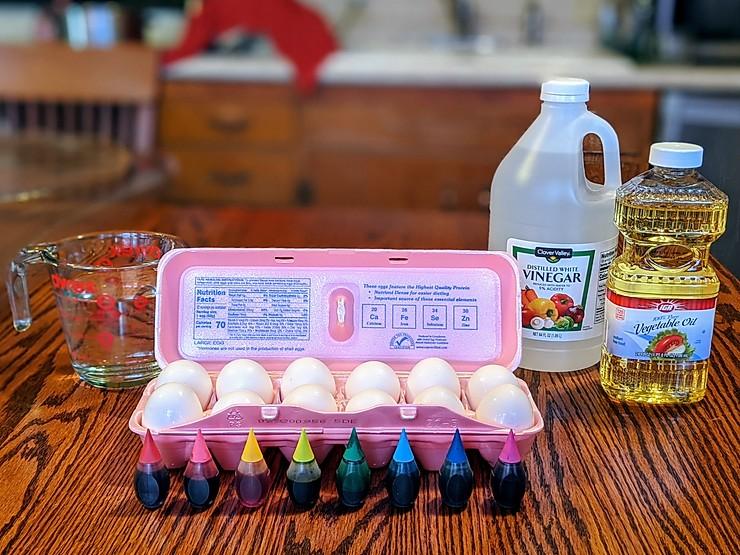
Gather your supplies, you will need hot water, white vinegar, food coloring, and vegetable oil. You will also want a few jars to color your eggs in, my family likes to use mugs best.
For the first round of coloring, you will need a few jars of hot water, I microwaved my water for two minutes. Add a tablespoon of white vinegar and a few drops of your favorite color. In order for your marbled affect to really pop, you'll only want to leave your egg in the mixture briefly, about one minute should do!
Once all of your eggs are colored and dried, you'll want to dispose of the leftover dye in your jars. For this round you'll only need warm water, I let my tap water run hot and used that. In your jars add food coloring and a tablespoon of vegetable oil.
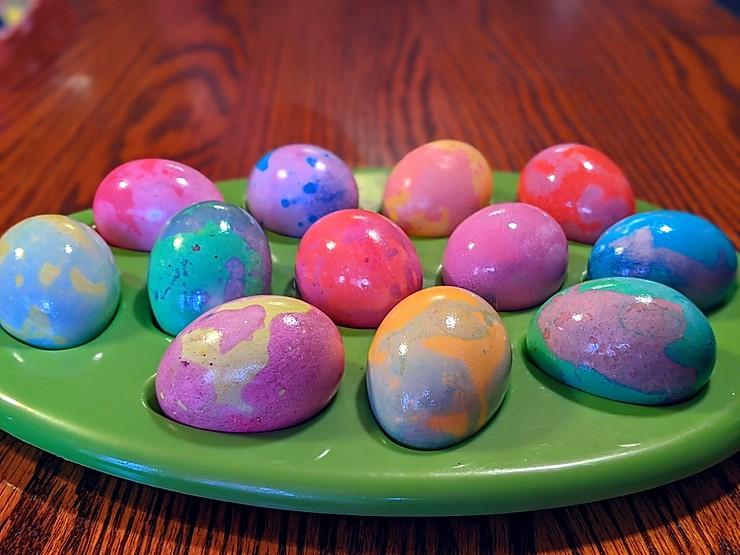
Now for the magic! Using a spoon, ease in your egg and swirl it gently in the mixture. Stirring too much will over coat your egg, covering most of your hard work from step one. We found that the amount of time needed for the affect to take place greatly differed between color combinations, ranging anywhere from a few seconds to one minute, so keep your eye on its progress.
Once you remove your egg, gently blot it dry using a paper towel, making sure to rub away the vegetable oil. Note: if you leave some of the vegetable oil behind it gives your eggs a nice shine.
This technique took our family a few bad eggs before we figured it out, so don't feel discouraged if your first attempt isn't perfect! Try different color combinations to produce different effects, no decision is a bad decision. Have fun, and Happy Easter!

